Screenshot & Rendering Tools #
You can capture your progress or create marketing assets with realistic 3D screenshots and Rendered Images/Videos.
Rendered Videos/Images/and Screenshots can be shared as a Design Video to your Zlendo Community.
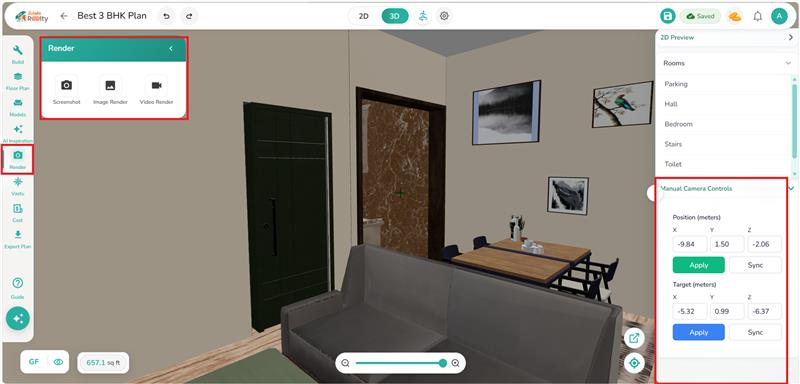
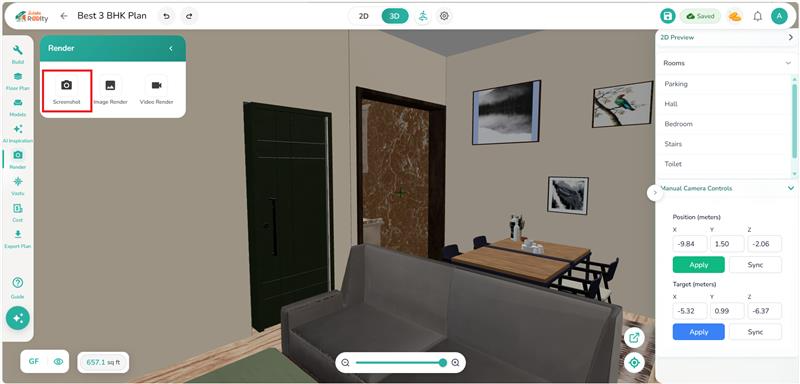
Taking a Screenshot #
In 3D Mode use the Render (Camera) Icon on the left Workspace Menu to take a high-quality screenshot of your current view.
On the Workspace in 3D Mode, Click on Render –> Screenshot
How to Capture an Image Render #
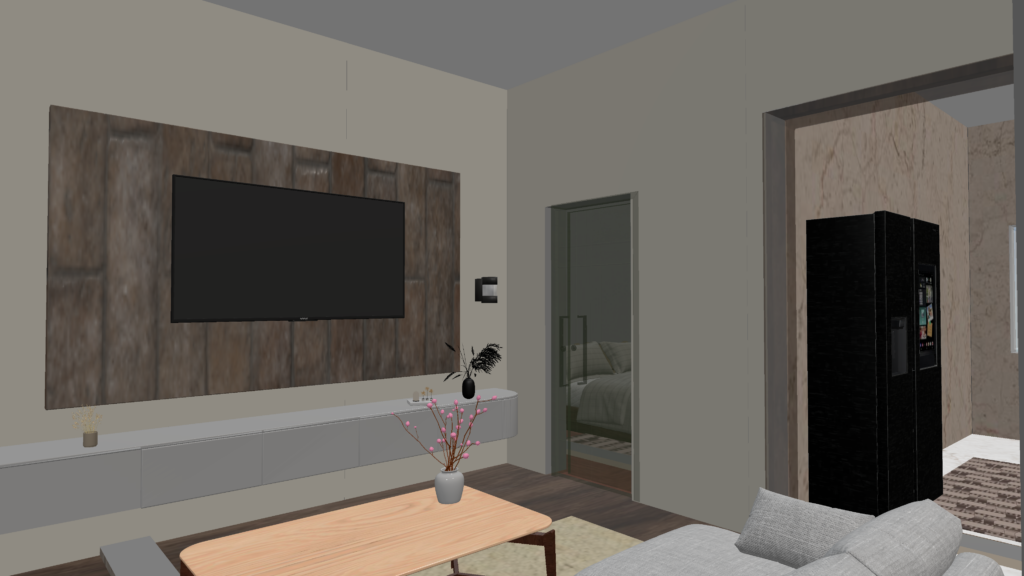
In 3D mode Zlendo Realty allows you to render smooth image/video walkthroughs to showcase the flow of your property.
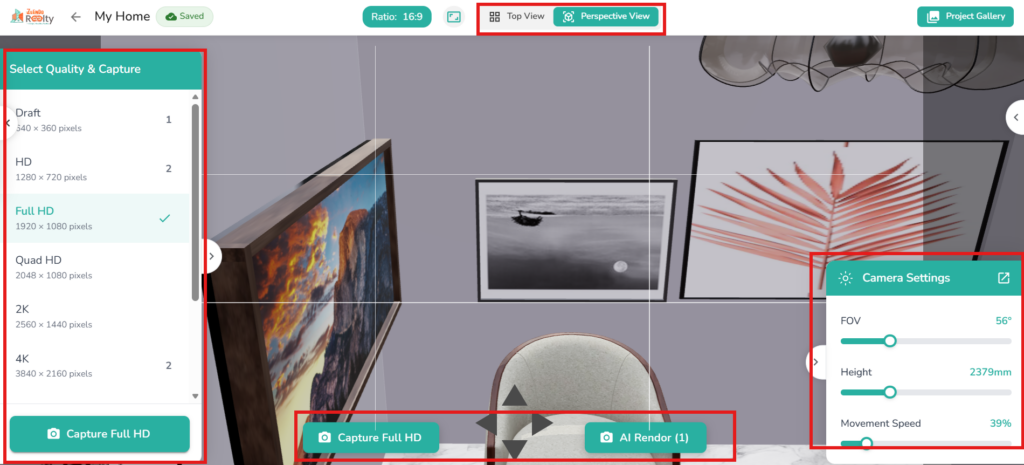
Click on Render Tool icon on the left Menu bar –> Choose Image.
Select View: On the Render screen choose Top view or Perspective.
Select a Room: Use the 2D Preview panel to select a Room by clicking on the room camera.
Room Navigation: Use the on-screen Navigation arrows / mouse movements to adjust the room view
Adjust Environment: Choose your lighting preset.
Adjust Camera Settings: Use the Camera Settings panel on the right to fine-tune your perspective. You can adjust the FOV (Field of View) and Height to perfectly frame your scene.
Select the Render Resolution: On the left-hand Select Quality & Capture panel, choose your desired output quality. Resolution options range from Draft to 12K.
Capture Render: Once your scene is set, click the Capture [Your selected picture quality] button / AI Render button located at the bottom of the screen to start rendering.
How to Capture a Video Render #
To create a video walkthrough of your project, you will use the Video Render interface. Follow these steps to set up and export your video:
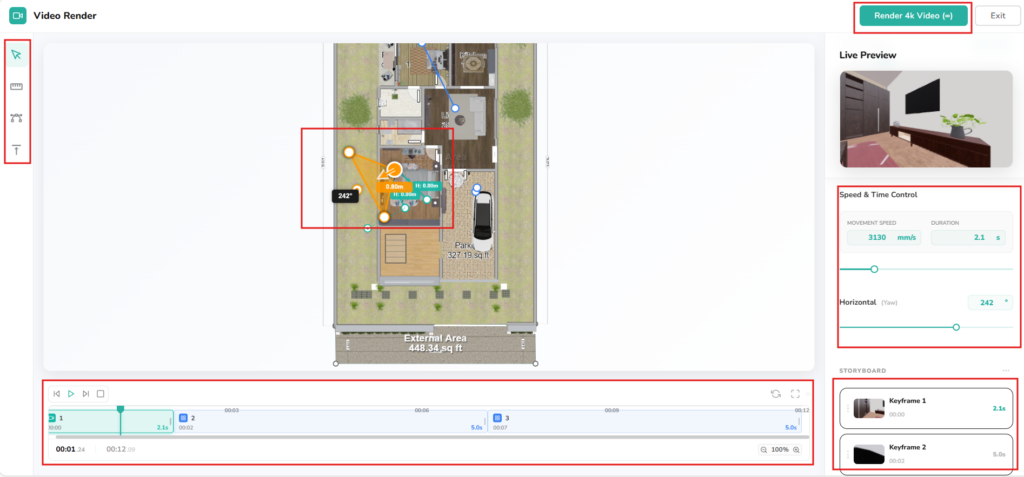
1. Build Your Camera Sequence
Adjust Camera Position, Speed and time controls: On the right-side panel of the screen, use the slider to adjust camera speed, movement time.
Add Keyframes: You must add keyframes to start a sequence, which tells the camera which direction to move and at what time.
Set the Camera Path: Use the Path tools on the left Toolbar to define your camera path.
There are 3 Path Tools you can choose from: Straight, Curved and Vertical.
– Click on the Path Tool (e.g., Straight/Curved/Vertical)
– Click on the room you wish to start recording. Adjust camera movement path using the provided handles (Straight-line path for the Straight Tool).
– Use the 3D Live Preview on the right-side panel to check the camera position and path as you adjust it.
– Click play to view the frame. This will also set the first Key frame. Repeat for each room.
2. Preview and Organize
Live Preview: Monitor your progress in the Live Preview window on the right sidebar. This shows a real-time 3D view of what the final video will look like.
Key Frames Storyboard: Manage the various segments of your video in the Storyboard section below the preview window to ensure the flow of the walkthrough is correct.
Playback Controls: Use the play, stop, and skip buttons on the timeline to test the timing and smoothness of your camera transitions.
3. Render the Video
Once you are satisfied with the sequence, click the Render [Your chosen video quality] Video button in the top-right corner of the interface to begin the high-quality export process.
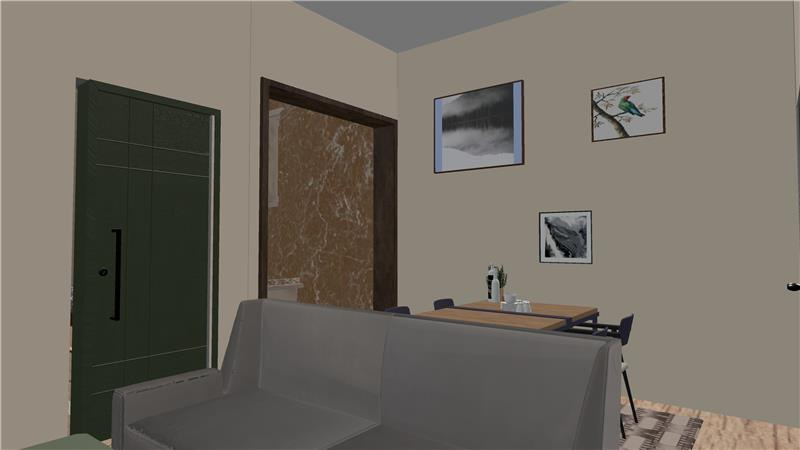
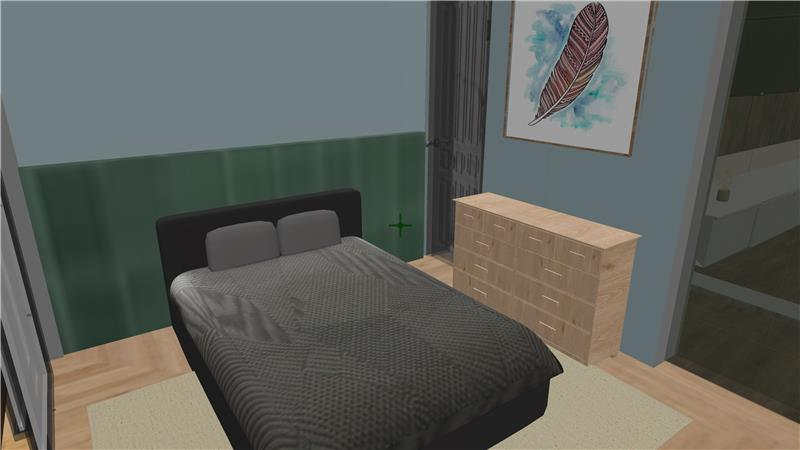
Where to Find your Screenshots and Rendered Images/Videos #
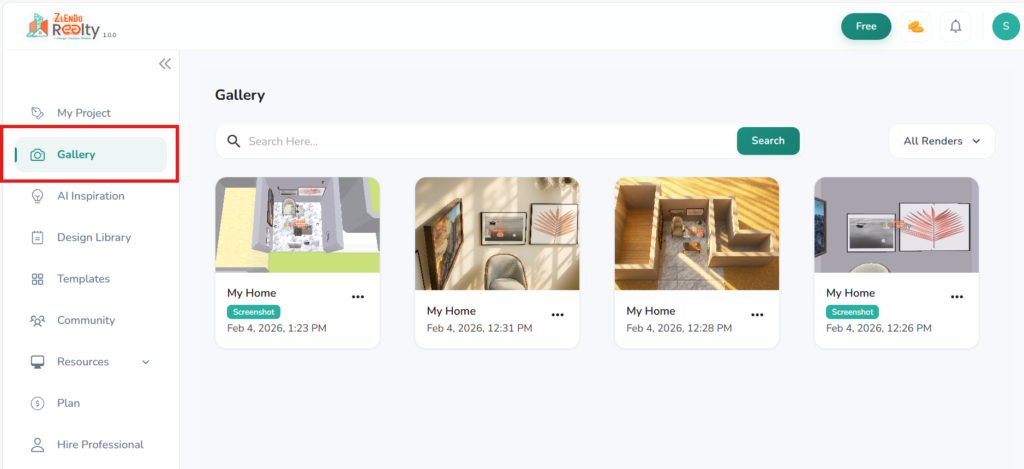
Once complete, your Screenshot/Image/Video will be saved to the Gallery.
From the Workspace –>Render –> Project Gallery
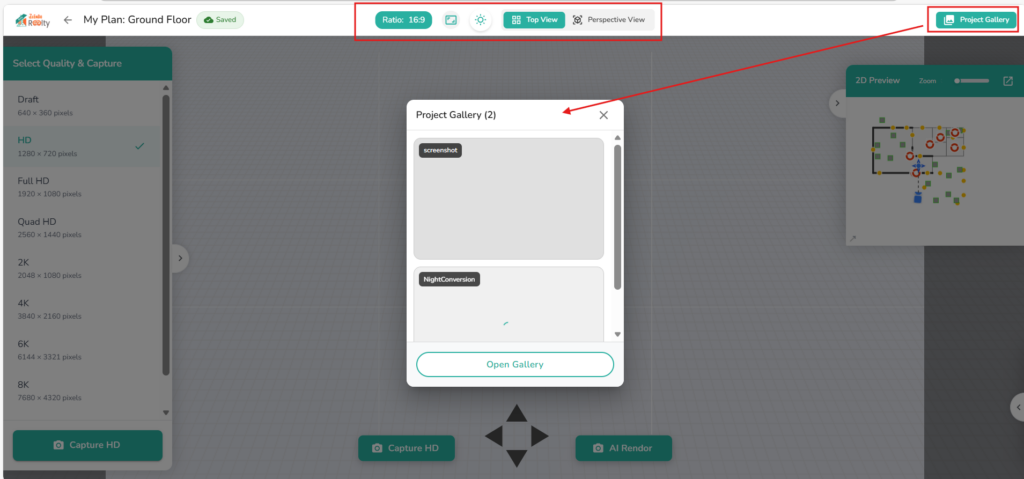
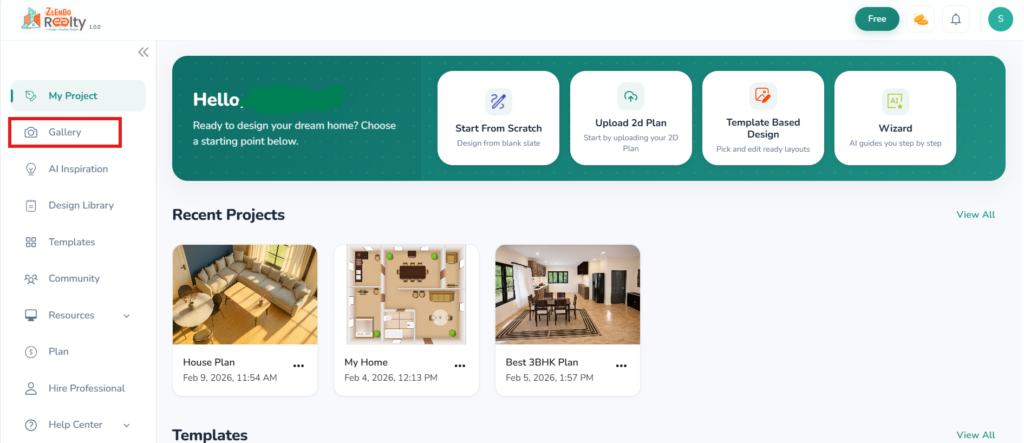
From the Dashboard –> Gallery –> Screenshot/Image/Video.
Click on the 3 dots under an image to View/download it.
💡 Rendering Best Practices #
Lighting First: Always place light fixtures (lamps, recessed lighting) before rendering an interior shot; the renderer uses these to create realistic “bounce” light.
The “Rule of Thirds”: Position your camera so your main focal point (like a kitchen island) isn’t perfectly centered for a more professional, “architectural magazine” look.
Check Your Specs: High-quality video rendering can take several minutes. You don’t need to keep the tab open; we’ll process it in the cloud and save it to your account.


