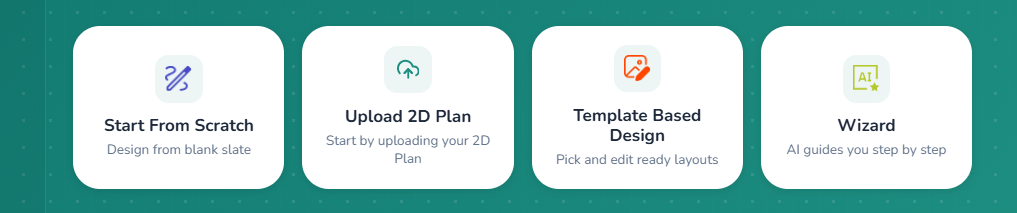
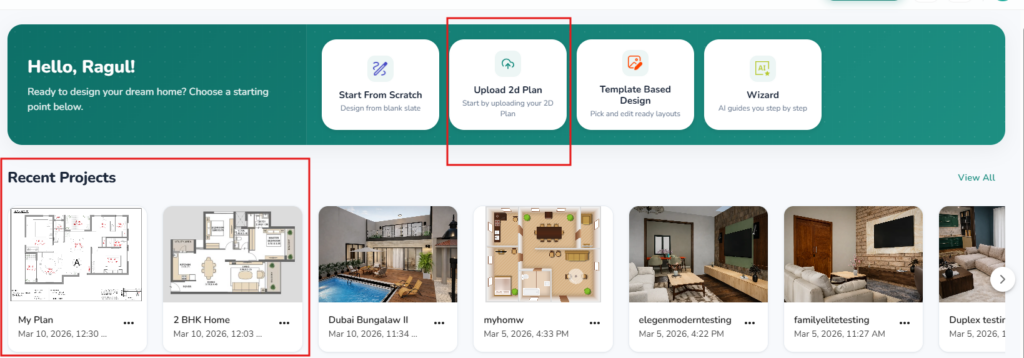
You have 4 ways to start your new project.
To get started, you can choose a Design option from the Dashboard.
Create: Start from Scratch (Use the Zlendo Realty Drawing board)
Upload a 2D Floor plan that you have
Template Based Design (Choose a free Zlendo Realty Template)
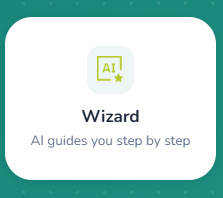
Wizard (AI-generated layouts for your dream home)
1. Start from Scratch: Draw your Own Plan #
To draw your own plan, click on ‘Start from Scratch‘ on the Dashboard.
Dashboard –> Start from Scratch
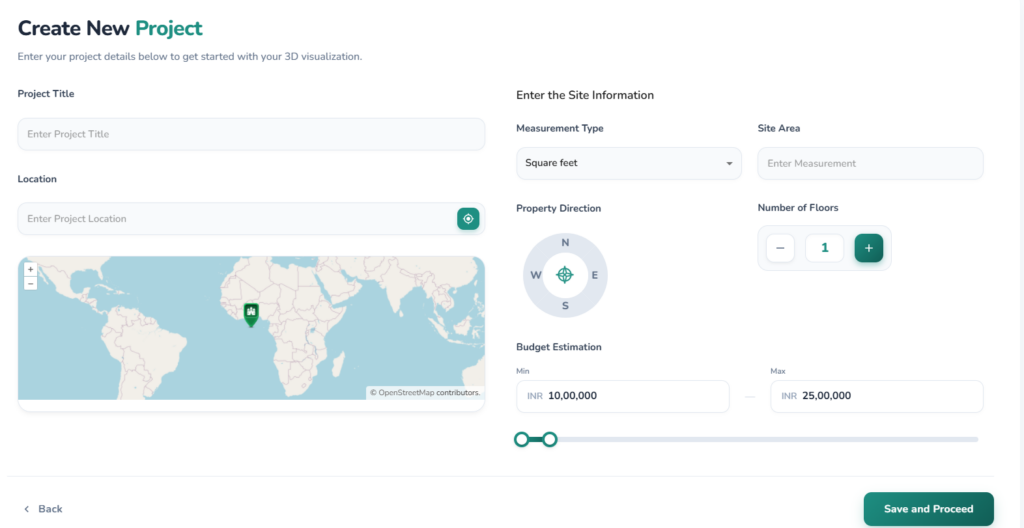
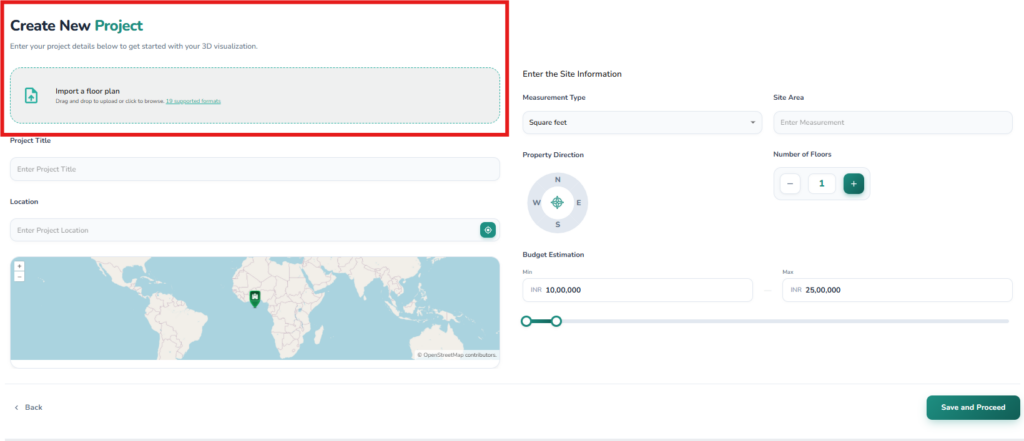
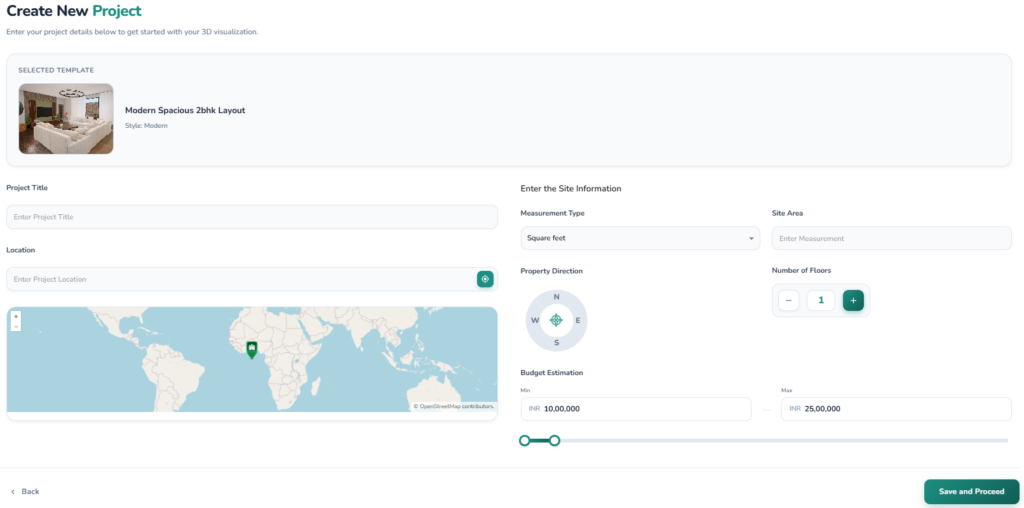
On the Create a New Project page that opens, fill out all fields.
Click Save and Proceed
2. Uploading and Digitizing 2D Floor Plans #
The second option you have is to upload a 2D floor plan and edit it to match your preferences.
Dashboard –>‘Upload 2D Plan‘
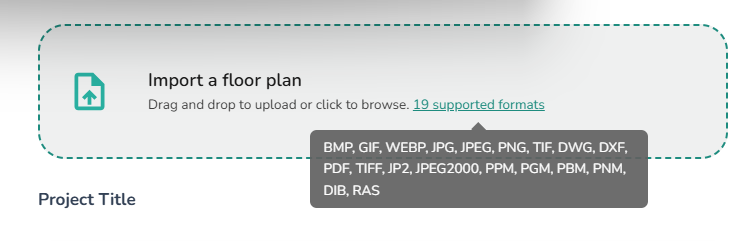
You have 19 options for floor plan format (BMP/GIF/JPG/PNG/DWG etc.) that you can upload.
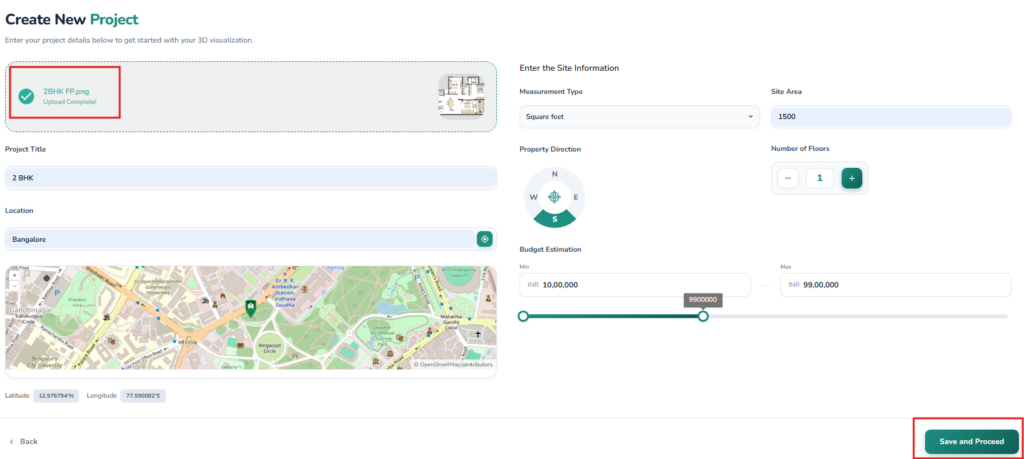
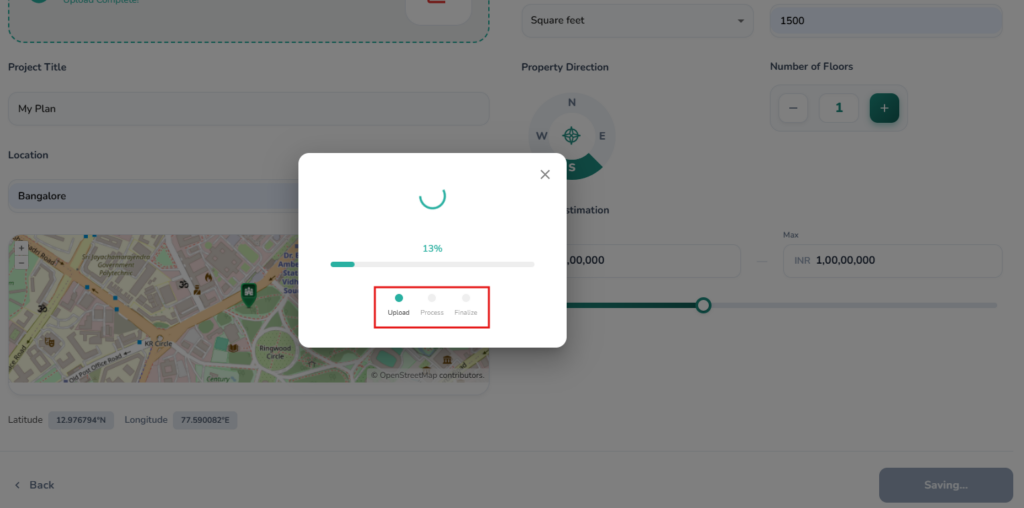
When the 2D plan upload is completed, fill out the rest of the Project details in the form.
Save to proceed.
The recognition and upload process will take a few seconds. Once upload is complete, you will be redirected to the Dashboard and find the newly digitized floor plan under Recent Projects.
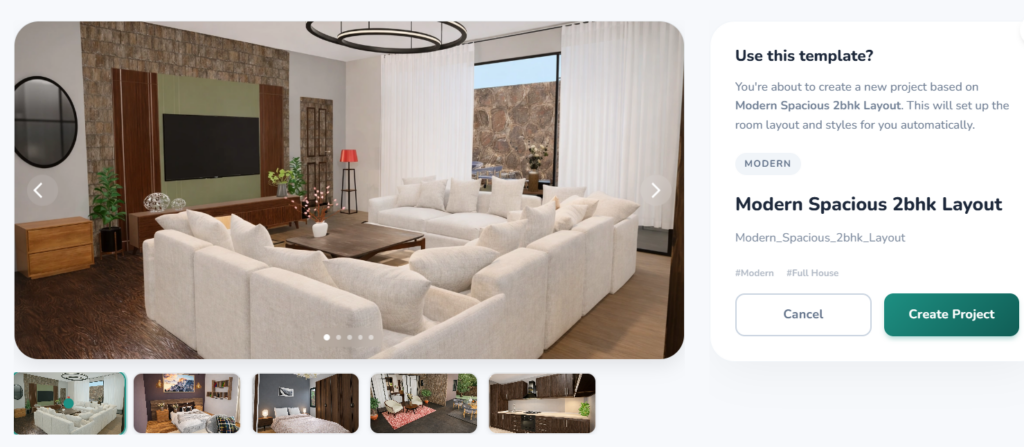
3. Using Zlendo Realty Templates #
The easiest way to get started is to work with a Zlendo Realty Template that you like.
Dashboard –> Template Based Design
Choose a design from the Zlendo Realty Template Library
Click Create Project
Fill the Create New Project form to save and proceed.
4. Using the AI Wizard #
Click on Wizard to get the best version of your designs with AI Generated Design Layouts.
Dashboard –> Wizard
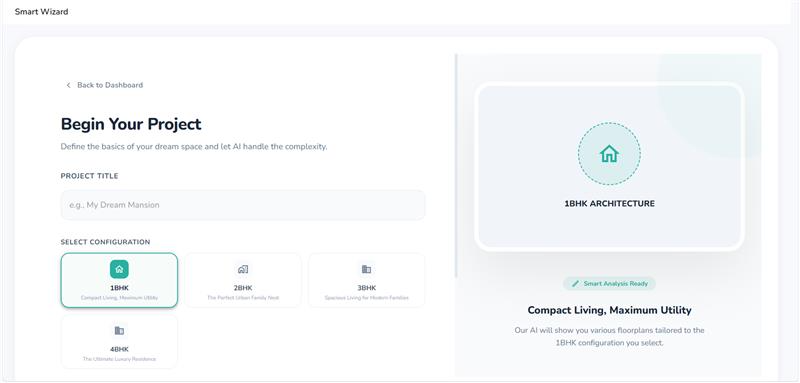
Fill the Project Information Form. Click Save to Proceed.
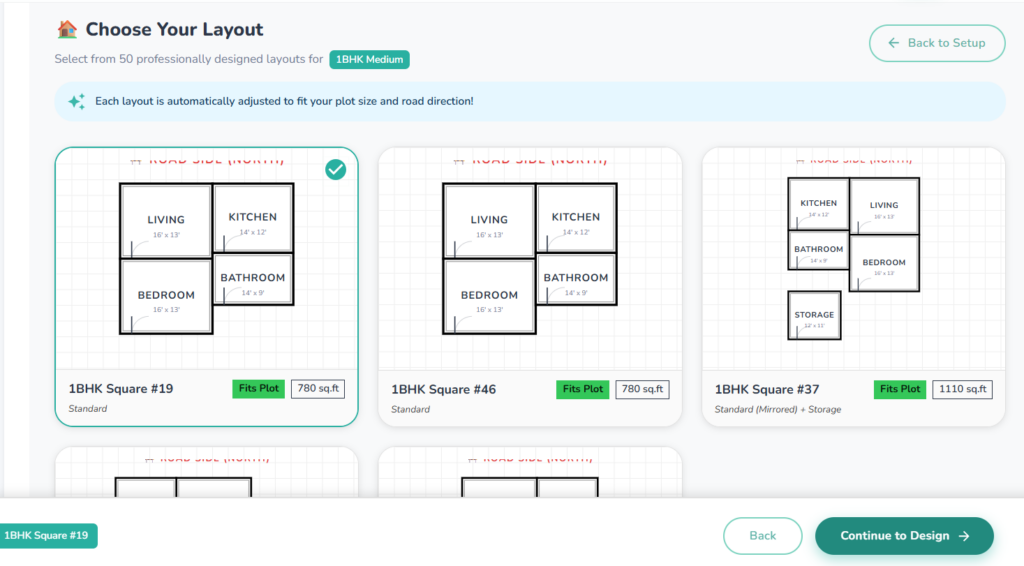
On the layout options page, click on a layout to choose your preferred Layout from 50 professionally designed options.
How to Fill the New Project Form #
Filling in the New Project Form accurately is important to get the full benefit of using Zlendo Realty Smart features.
Project Title: Assign a unique name to your project, such as “My Home,” to easily identify it within your dashboard.
Location: Enter your address or city to automatically generate local maps and receive localized material cost estimates.
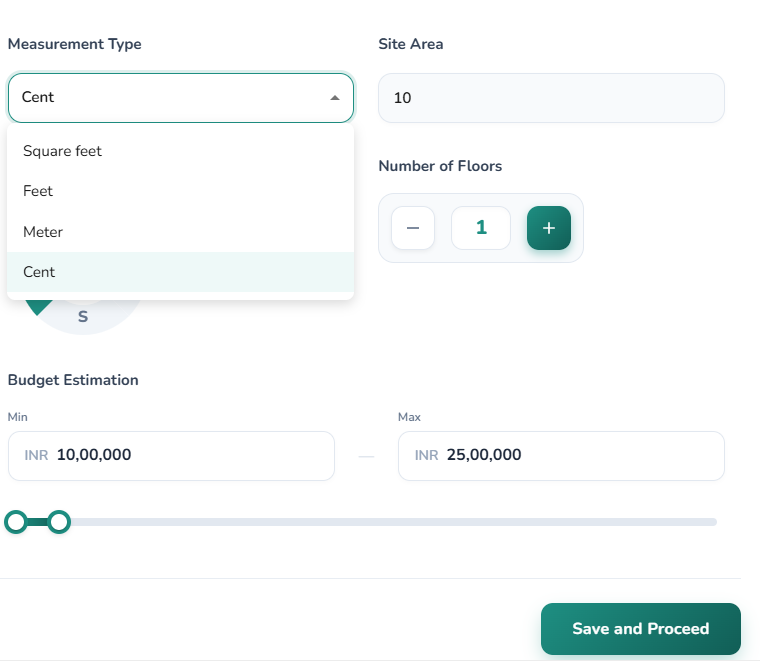
Site Measurement & Area: Choose your preferred unit—like Cents, Feet, or Meters—and enter the total area of your plot.
Property Direction: Select the primary orientation of your site (N, E, W, or S) to help align your design accurately.
Number of Floors: Specify the total number of levels planned for your building to set the project’s scale.
Budget Estimation: Input your target price range to ensure your design choices remain within your financial goals.
💡 Pro-Tip #
Mastering the Sun #
Choosing your property direction isn’t just a technical detail—it’s the first step in mastering natural light and energy efficiency in your 3D model.
Selecting your Property Direction (N / E / W / S) allows Zlendo Realty to simulate how the sun will interact with your home throughout the day. Here is how it affects your design:
North-Facing: Provides consistent, soft light throughout the day, which is perfect for studios or workspaces where you want to avoid harsh glares.
South-Facing: Offers the most direct sunlight, making these rooms naturally warmer—great for living areas, but you may need to add more cooling options in your Build tool.
East-Facing: Floods your rooms with bright light in the morning; ideal for bedrooms or breakfast nooks.
West-Facing: Captures the intense, warm “Golden Hour” light in the late afternoon, which can significantly heat up a room before sunset.
Why Location Matters #
Remember that entering your Location does more than just pin a map.
Because Zlendo Realty calculates Budget Estimation based on real-world data, choosing a specific city ensures your cost estimates for labor and materials are accurate to that specific region.
💰 Smart Budgeting with Zlendo Realty #
Setting an accurate Budget Estimation range is key to transforming a digital dream into a buildable reality.
Localized Material Costs: Because your Location data is used to pull real-world product prices, your budget range will reflect the actual market rates for labor and materials in your specific city.
Scale Accuracy: Always double-check your Site Area and UOM (Unit of Measurement) before finalizing, as even a small error in area can significantly shift the total material costs calculated for your project.
Financial Guardrails: Use your budget range to filter items in the Design Library later; this ensures you don’t fall in love with a marble finish that exceeds your project’s financial plan.


